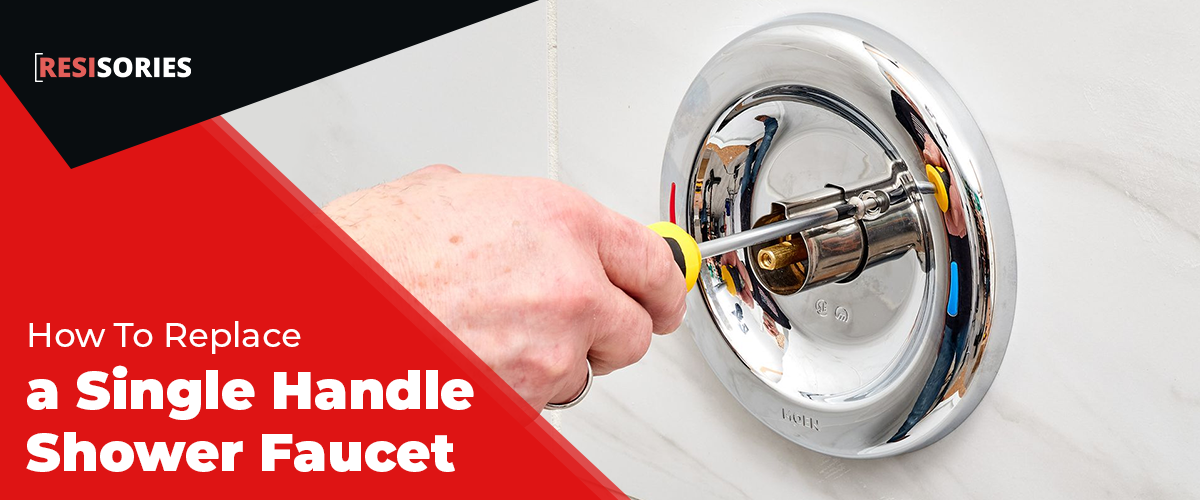
If you’re interested in taking on a DIY bathroom job, consider starting with the shower faucet. Got a single-handle one that you want to replace with a modern, sparkling option? This is your guide to help you learn how to do it safely and conveniently right there at home.
What tools and materials do you need?
Tools:
- Tube cutters
- Reciprocating and hand saw
- Torches and tank
- Pliers
- Cleaning Rags
- Screwdrivers
Materials:
- Gasfitters and connectors
- Solder
- New faucet
Are you interested in taking on this project yourself? If so, be aware that this is a moderate to advanced job to take on yourself and can take 1-4 hours total. As far as the price, you can expect it to take around $60, though it will vary depending on your choices.
If this is your first time doing a DIY faucet replacement, consider having an experienced plumber on-site or, at the least, on-call! If this is your first time doing anything DIY in the bathroom, make sure you have gone over this guide a few times!
The steps to replacing a single handle shower faucet-
- Prepare your space
- Turn off the water to your home
- Remove the knob’s set to expose the valve
- Loosen the locking nut
- Pull the old cartridge out
- Put a new rubber seat into the seat (both sides)
- Put the new cartridge into place with an O-ring
- Install the new escutcheon plate over the valve
- Install the trim package and handle
- Test water for temperature and leaks
- Caulk and finish up
What are some pointers for the installation process?
If you want to make your adventure a success, here are some general tips to keep in mind to help keep everything under control.
➥ Check for water leaks and repair before finishing the project:
If there is any sign of water damage (weakened studs, mold, etc), repair those before going further. Yes, it will take more time, but water damage is always serious and needs to be addressed before you simply cover it all up again.
➥ Don’t forget to do a leak check:
After installation and connecting everything, you’ll want to do a check for leaks so that you are aware of any new (or existing) leaks before you close anything up. Could a loose nut here, or a misplaced connector, there? Simple fix that is well worth the time!
➥ Set the temperature limit stop:
No one wants to be scalded in the shower, so make sure there is a temperature limit stop on the valve!
Last but certainly not least, you’ll want to make sure that you do ask for help if you need it. Whether you are new or experienced, even the “simplest” tasks can call for a second person with a different kind of experience.
It can be a huge power trip to know that you can replace a single handle faucet, right? Exactly. To make sure it is as successful as possible, use this guide to help you get from start to end with no disasters or mistakes!
You might also like:
- How to Clean Showerhead With Vinegar
- 1 Handle Vs. 2 Handles Vs. 3 Handles Shower Faucet
- How to Clean a Rain Shower Head
- How to Install Rain Shower with Handheld
- Find the Best 2 Handle Shower Faucets
- How to Choose the Best Shower Head for Hard Water
- How to Find the Best Rain Shower Head with Handheld Combo
- Find the Best Single Handle Bathroom Faucet
- How To Replace Or Install Bathroom Faucet
- Delta H2Okinetic Showerhead- Is It WorthTo Buy?
- Kohler Levity Shower Doors- Is It Worth To Buy?
- Delta Shower Door- Should You Buy This?
Sources :
www.thisoldhouse.com/bathrooms/21017280/how-to-repair-a-shower-valve


