
How Does a Bathtub Overflow Drain Work? Plus Installation Steps (2026)

By Julian Gill Updated · 9 min read
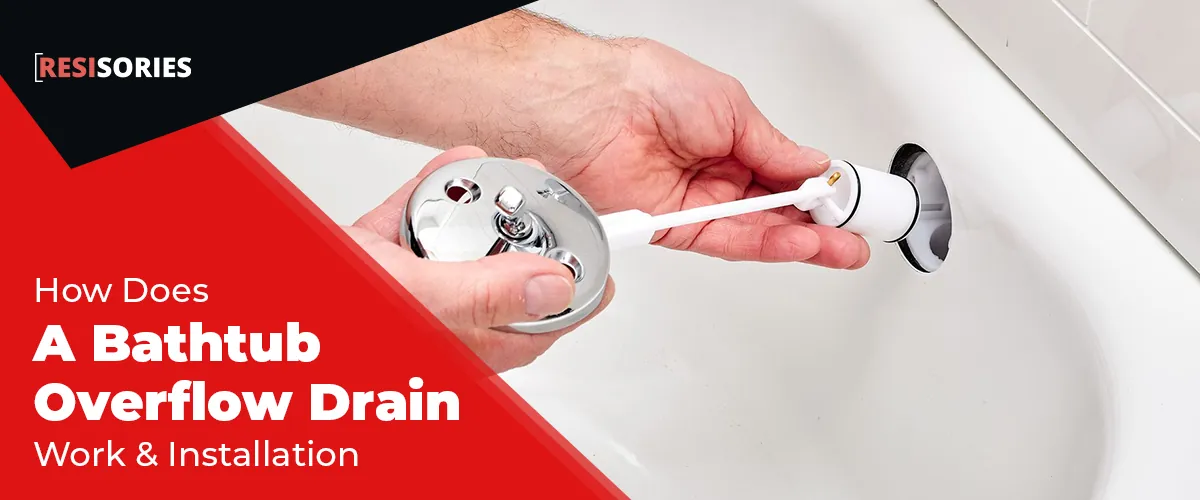
Disclosure: Some of the links in this article may be affiliate links, which can provide compensation to me at no cost to you. You can read our affiliate disclosure in our privacy policy.
In this article
- How Does a Bathtub Overflow Drain Work?
- The Parts of a Waste and Overflow Kit
- The Two Types of Overflow Drains
- Traditional Overflow
- Integral Overflow
- Common Stopper Types on the Main Drain
- Tools and Materials You Need
- How to Install a Bathtub Overflow Drain
- How to Install a Tub Drain on a Concrete Floor
- How to Repair a Leaking Overflow Drain
- Common Problems and Mistakes to Avoid
- FAQs
A tub that fills a little too high is not a disaster when the overflow drain does its job. That small round plate under the faucet is the only thing standing between a forgotten bath and a wet ceiling downstairs. Here is how it works, how to install one, and how to fix it when it starts to leak.
Quick answer
A bathtub overflow drain is a second opening a few inches below the rim that has no stopper, so water that rises to it always flows out. A pipe behind the tub carries that water down to a tee, where it joins the main drain and leaves through the same trap.
Key takeaways
- Two drains, one exit: the main drain at the bottom and the overflow near the top meet in one pipe under the tub.
- No stopper on the overflow: it is always open, which is why it can catch rising water.
- It only works if the pipes are clear: a clog below the tee stops both drains.
- Most leaks come from the gaskets: the overflow gasket and the drain flange seal are the usual suspects.
How Does a Bathtub Overflow Drain Work?
Every standard bathtub drain has two parts: the main drain and the overflow drain. The main drain sits at the bottom of the tub. The overflow sits on the end wall, a few inches below the rim, usually right under the spout.
Behind and under the tub, each opening connects to its own pipe. The overflow pipe drops down, the main drain pipe runs sideways, and the two meet at a tee. From there a single tailpiece runs into the trap and the house drain.
The main drain has a plug or a mechanical stopper so you can fill the tub. The overflow has no stopper at all. When the water level reaches the overflow opening, it simply spills into it and runs away, even with the main drain closed.
The Parts of a Waste and Overflow Kit
Overflow drains are sold as a "waste and overflow" kit. Knowing the parts makes installation and repair much easier.
- Drain flange
- The visible ring at the bottom of the tub, threaded into the drain shoe.
- Drain shoe
- The elbow under the tub that receives the flange and leads to the tee.
- Overflow elbow
- The bend behind the overflow opening that turns the water downward.
- Overflow gasket
- The rubber seal squeezed between the tub wall and the overflow elbow.
- Tee and tailpiece
- Where both drains meet and drop into the trap.
- Cover plate
- The round plate over the overflow opening, sometimes with a trip lever.
The Two Types of Overflow Drains
Most common
Traditional Overflow
A hole is cut in the end wall of the tub and covered with a plate. The overflow pipe runs behind the tub wall. This is what you will find on most alcove and drop-in tubs, and the parts are easy to find.
Cleaner look
Integral Overflow
The overflow channel is built into the body of the tub, with a discreet opening inside it. You see no pipe and often no plate. It is common on freestanding tubs, where the back of the tub is visible.
Common Stopper Types on the Main Drain
The overflow itself never closes, but some stoppers are controlled from the overflow plate. That matters when you remove or repair the cover.
- Trip lever: a lever on the overflow plate moves a rod and plunger inside the overflow pipe to open or close the drain.
- Lift-and-turn: you lift the knob and turn it to lock the stopper open or closed.
- Toe-touch: you press it with your foot to open or close it.
- Push-pull: you pull the knob up to open and push it down to close.
Tools and Materials You Need
- Screwdriver
- Channel lock pliers
- Drain wrench
- Plumber's putty or silicone caulk (check what your tub maker recommends)
- Waste and overflow kit with gaskets
- PVC primer and solvent cement (for glued PVC kits)
- Clean rags and a bucket
- Flashlight
Safety first
Turn off the water to the tub before you start, and make sure you can reach the back of the tub through an access panel or open wall. Work in a ventilated room when you use PVC primer and cement, and let the joints cure before you test with water.
How to Install a Bathtub Overflow Drain
These steps cover a standard waste and overflow kit on a tub you can reach from behind. Dry-fit everything first, then seal and tighten.
- Attach the waste and overflow assembly
Hold the assembly in place behind the tub. The top of the overflow tube must line up with the overflow opening, and the drain shoe must line up with the drain opening in the bottom of the tub.
Tighten slip joints with channel lock pliers. On a glued PVC kit, prime and cement the joints to make them permanent.
- Connect the drain fitting
Roll a rope of plumber's putty and press it under the lip of the drain flange. Put the rubber washer on the drain shoe under the tub.
Thread the flange through the drain hole into the shoe and tighten it with a drain wrench until the putty squeezes out evenly.
- Attach the overflow cover plate
Place the overflow gasket between the tub wall and the mouth of the overflow tube, with the thicker side of the gasket facing down. Set the cover plate over the opening and screw it on firmly.
- Test the installation
Wipe off the excess putty around the flange. Close the stopper, fill the tub above the overflow opening and watch the pipes behind the tub with a flashlight. Then open the drain and check every joint again while the water runs out.
How to Install a Tub Drain on a Concrete Floor
On a concrete slab you usually cannot reach the drain from below. The drain line is set in the slab, and the tub sits over a box-out (an open pocket around the drain). That means careful positioning matters more than anything else.
- Position the tub over the drain
Choose the position where the tub drain sits right over the drain pipe in the box-out, while the tub still rests level and fully supported on the floor.
- Insert the new threaded drain
Lower the new threaded drain into the drain hole and over the male threads sticking up. Check that it lines up with the drain piping under and behind the tub before you tighten.
- Install the overflow assembly
Feed the rod, linkage and plunger through the overflow hole and let them drop until the overflow cover lines up with the opening. Drive in the screws with a screwdriver and tighten them down.
- Thread in the tub spout pipe
Once the drain is done, thread the spout pipe (nipple) through the spout hole into the fitting in the wall and tighten it with pliers.
- Install the spout and test
Screw on the tub spout and tighten its set screw if it has one. Run water, fill the tub above the overflow and check that everything drains smoothly with no leaks.
How to Repair a Leaking Overflow Drain
An overflow drain can start leaking at any time. Gaskets dry out and shrink, screws loosen, and the tub moves a little each time someone steps in. Here is how I handle it.
- Find the leak
Look for water stains on the ceiling below or behind the access panel. To confirm the overflow is the cause, fill the tub just below the overflow and check for drips, then fill it above the overflow. If the leak only starts above that level, it is the overflow.
- Check the overflow gasket
Remove the cover plate and inspect the gasket. If it is cracked, flattened or hard, replace it. If the overflow pipe assembly is loose or damaged, tighten or replace it.
- Reinstall the overflow plate
Put the plate back with its opening at the bottom. If the plate controls a stopper, slip the linkage back into the overflow pipe carefully and slide the rod down until the plate meets the opening, then tighten the screws evenly.
Common Problems and Mistakes to Avoid
| Problem | Likely cause | What to do |
|---|---|---|
| Water stain below the tub | Worn overflow gasket or loose drain flange | Test above and below the overflow level, then reseal the faulty part |
| Tub drains slowly | Hair and soap buildup in the drain or under the trip lever plunger | Pull the stopper or linkage and clean it |
| Bad smell from the overflow | Grime building up inside the overflow pipe | Remove the plate and clean the opening and the pipe you can reach |
| Stopper will not stay closed | Trip lever rod set to the wrong length or worn parts | Adjust the linkage or replace the assembly |
- Over-tightening the cover plate: it can crack an acrylic tub or squeeze the gasket out of place. Snug is enough.
- Putting the gasket upside down: the thicker side goes down.
- Skipping the overflow test: fill above the overflow before you close the wall.
- Closing the wall with no access panel: you will need to reach these joints again one day.
FAQs
How do you remove a bathtub drain stopper?
Hold the base of the stopper and turn the knob counterclockwise until it comes off. If it is too tight, wrap it in a rag and grip it gently with pliers.
What do you do when a bathtub drain stopper is stuck closed?
Put a couple of drops of lubricant on the threads, loosen the knob or set screw, then pull the stopper stem straight up.
What should you do when a bathtub drain stopper leaks?
Unscrew the stopper, clean the seal and the drain seat, check the gasket, then reinstall it snugly. Replace the gasket if it is worn.
What if the bathtub trip lever is not working?
Remove the overflow plate, pull out the linkage and check the rod length and plunger. If parts are bent or worn, replace the trip lever assembly.
How do you remove a lift-and-turn stopper without a screw?
Wrap a rag around the stopper and turn it counterclockwise by hand to slide it off the post. If it is tight, apply a little lubricant first.
What should you do if a bathtub overflows?
Turn off the faucet right away, pull the stopper and dry the floor. Then have the drain and overflow checked, because an overflow that cannot keep up usually points to a clog or a leak.
Does homeowners insurance cover a bathtub overflow?
Some policies do. Ask your insurer what water damage and plumbing repairs your policy covers.
Does a bathtub have to have an overflow drain?
Yes, a standard bathtub should have one so excess water can drain away before it spills over the rim.
How long does an acrylic bathtub last?
An acrylic bathtub lasts about 10 to 15 years.
Why does my tub faucet drip?
A dripping tub faucet usually has a worn washer or cartridge. Check the washer first and replace it if it is worn out. Our guide on how to fix a leaky bathtub faucet walks you through it, and if you would rather replace it, see our bathtub faucet reviews.
The overflow drain is a simple part: an open hole near the rim, a pipe behind the tub and a tee that joins the main drain. Keep the drain clear, keep the gaskets in good shape and always test above the overflow line after any work. If you see a stain on the ceiling below your tub, check the overflow gasket first.