
How to Fix a Leaky Bathtub Faucet: Single and Double Handle (2026)

By Julian Gill Updated · 9 min read
Disclosure: Some of the links in this article may be affiliate links, which can provide compensation to me at no cost to you. You can read our affiliate disclosure in our privacy policy.
In this article
- What Causes a Leaky Bathtub Faucet?
- Mineral Buildup
- Worn Washers and O-Rings
- Loose Handles and Fittings
- Identify Your Faucet Type First
- Compression Stem
- Cartridge Valve
- Tools and Materials You Need
- How to Fix a Leaky Bathtub Faucet, Step by Step
- Replacing the Parts and Reassembling
- How to Fix a Leaky Double Handle Tub Faucet
- How to Fix a Leaky Delta Single Handle Tub Faucet
- How to Fix a Leaky Delta Double Handle Tub Faucet
- How to Fix a Leaking Moen Single Handle Tub Faucet
- Tips and Mistakes to Avoid
- FAQs
A tub faucet that drips "only a little" is still running day and night. Left alone, a small drip wears the parts even more, stains the tub and adds to your water bill. The good news: most leaks come from a few cheap parts, and you can replace them yourself in an afternoon.
Quick answer
To fix a leaky bathtub faucet, turn off the water, remove the handle, take out the stem or cartridge, and replace the worn washer, O-rings or seat. Clean off mineral deposits, grease the new parts, reassemble in reverse order and test.
Key takeaways
- The usual culprits are small: worn washers, O-rings and valve seats cause most drips.
- Know your faucet type: double handle faucets usually have compression stems, single handle faucets usually have a cartridge.
- Hard water speeds up wear: mineral buildup keeps seals from closing fully.
- Match parts to the brand: Delta and Moen faucets need their own replacement parts.
What Causes a Leaky Bathtub Faucet?
Finding the cause first saves you from buying the wrong parts. Whatever the trigger, the parts that fail are almost always the seals: the washers and the O-rings. Once they are worn or damaged, they can no longer hold the water back in the pipes.
Mineral Buildup
If you have hard water at home, minerals slowly form inside the valve, on the stem and on the seat. That crust keeps the washer from sealing tightly, and the faucet starts to drip.
Worn Washers and O-Rings
Rubber parts do not last forever. Every time you turn the handle, the washer is pressed against the seat, and over the years the rubber hardens and cracks. A hard, flattened washer is the most common reason a tub faucet drips from the spout.
Loose Handles and Fittings
Years of twisting loosen the screws and nuts that hold the handle and the stem in place. When the assembly is no longer tight, water can leak around the handle instead of from the spout.
Identify Your Faucet Type First
The repair depends on what is behind the handle. In my experience as a plumber, two tub faucets that look alike from the outside can be very different once the handle is off.
Most double handle faucets
Compression Stem
Each handle turns a threaded stem with a rubber washer at the bottom. The washer presses on a brass seat to stop the water. Repairs mean new washers, O-rings and sometimes a new seat.
Most single handle faucets
Cartridge Valve
One handle controls flow and temperature through a cartridge. When it leaks, you usually replace the whole cartridge rather than individual washers.
Tools and Materials You Need
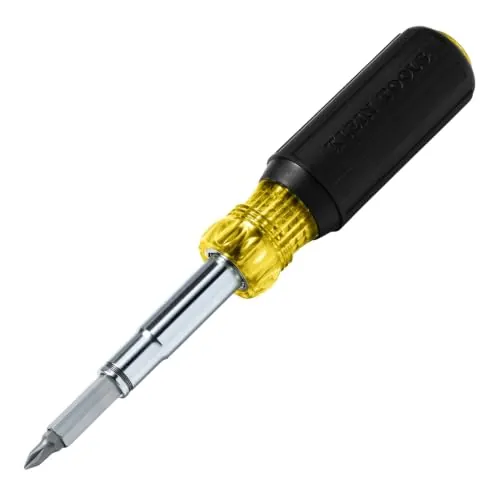
- Multi-bit screwdriver (flathead and Phillips)
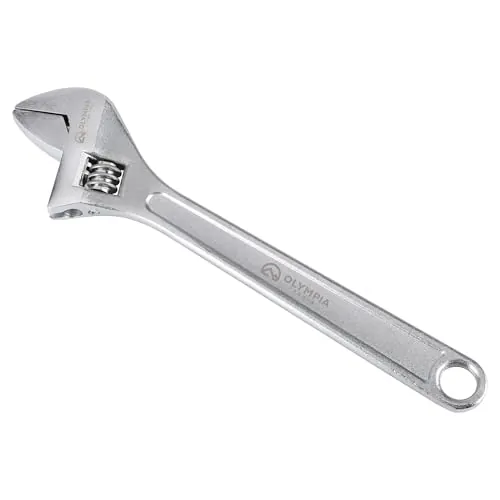
- Adjustable wrench
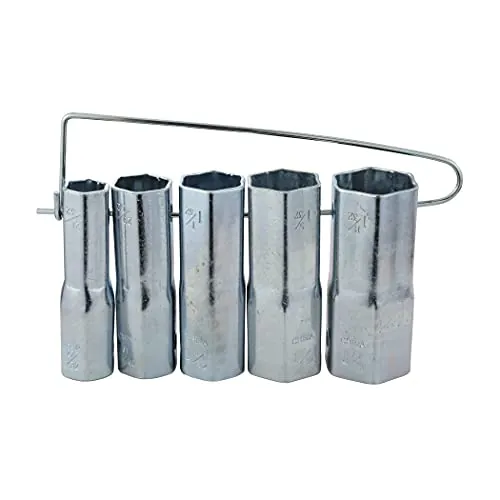
- Bath socket wrench
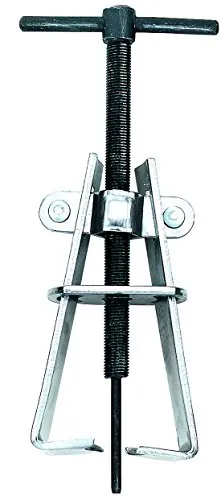
- Faucet handle puller
- Seat wrench
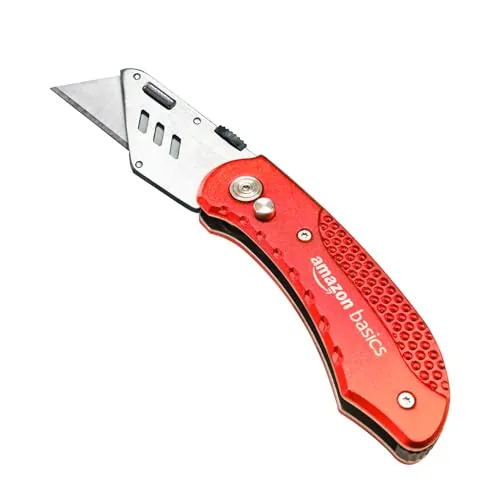
- Utility knife
- Pliers
- Replacement washers, O-rings and seat washers (or a new cartridge)
- Plumber's grease and plumber's tape
- White vinegar and a scouring pad
- A rag and a small container for screws
Safety first
Turn off the water before you remove anything. Close the shutoff valves behind the access panel if your tub has them, or the main valve for the house. Then open the faucet to let the remaining water drain, and put a rag over the tub drain so small screws cannot fall in.
How to Fix a Leaky Bathtub Faucet, Step by Step
These steps follow a stem-type faucet, the most common design behind a dripping tub handle. On a cartridge faucet, the first steps are the same, then you pull and replace the cartridge instead of the washers.
- Remove the decorative cap
Most handles have a small decorative cover in the center or at the base. Pry it off gently with a flathead screwdriver to expose the screw underneath.
- Take off the handle
Remove the exposed screw, then pull the handle off. If it is stuck, warm it with a hair dryer or pour hot water over it, or use a handle puller. Do not force it, or you may crack the handle.
- Unscrew the escutcheon
Many faucets have a decorative collar (escutcheon or sleeve) behind the handle, sometimes screwed onto the faucet body. Unscrew it and set it aside.
Put every screw and nut in a small container and note the order you removed them. You will need all of them, in the same order, to put the faucet back together.
- Remove the packing nut or stem bonnet
Slide a bath socket wrench over the bonnet nut, or use a locking grip wrench if you can reach it. Turn it counterclockwise until it comes off.
- Pull out the stem
Grip the stem with pliers and turn it counterclockwise to unscrew it from the faucet body, then pull it straight out.
- Inspect the parts and remove mineral deposits
Look for corrosion, hard water crust or damage on the stem, the washer, the O-rings and the packing nut. If you are not sure which part failed, replace all the rubber parts.
To remove mineral deposits, cover the parts with white vinegar for a short while, then scrub them with a scouring pad.
- Check the seat for damage
The washer at the bottom of the stem rests on a seat, a small threaded brass part inside the faucet body. A worn washer often damages it. If the seat is rough or pitted, remove it with a seat wrench and take it to the store to buy an exact match.
Replacing the Parts and Reassembling
Once the old parts are out, put everything back in the reverse order. Grease helps the new parts seal and makes the next repair easier.
- Install the new seat
Coat the threads of the new seat with plumber's grease and thread it into the faucet body with the seat wrench until it is snug.
- Fit the new washer and O-rings
Grease the new seat washer and the threads of the brass screw, then fasten the washer to the bottom of the stem. Replace the O-rings on the stem with new, lightly greased ones.
- Reinstall the stem and bonnet
Grease the stem threads and screw the stem back into the bonnet. Grease the new bonnet washer, wrap the bonnet threads with plumber's tape, and screw the bonnet back into the faucet body.
- Put the trim back
Lightly grease the handle joints, then replace the escutcheon, the handle, its screw and the decorative cap.
- Turn the water on and test
Open the water supply slowly. Run the faucet hot and cold, close it, and watch the spout and the handle for a few minutes. A slow drip that stops after a minute is just water left in the spout.
How to Fix a Leaky Double Handle Tub Faucet
A double handle tub faucet works the same way as the stem faucet above. The only difference is that it has two stems, one for hot and one for cold, instead of one handle that controls both flow and temperature. You use exactly the same technique on each side.
The real challenge is finding which side leaks. Feel whether the drip is warm or cold, or close only the hot supply valve if your tub has separate valves and see if the drip stops. Repair the leaking side first. If both stems are the same age, I usually replace the washers on both while the water is off.
How to Fix a Leaky Delta Single Handle Tub Faucet
Delta faucets are a little different from other brands, and generic parts often do not fit. Use genuine Delta parts for the repair. You will typically need:
- Delta universal seats and springs: the small rubber seats and springs that seal against the valve.
- Delta stem unit assembly: if the stem itself is worn.
- Allen wrench: many Delta handles are held by a set screw.
- Channel locks: to remove the bonnet or cap.
- Needle nose pliers: to lift out the old seats and springs.
Take a photo of the valve before you remove anything, and write down your faucet model if you can find it. That makes it much easier to buy the right kit.
How to Fix a Leaky Delta Double Handle Tub Faucet
The process is the same as for the single handle Delta faucet, repeated on each side. Be careful with the small components, which are easy to lose or put in upside down. If you are unsure about a part, check Delta's own documentation or support for your exact model.
How to Fix a Leaking Moen Single Handle Tub Faucet
The general process is the same as for the others: water off, handle off, cartridge out, new parts in. Moen advises taking special care with the friction gasket and the lock ring. These parts are easy to damage or put back incorrectly, so note their position before you remove them and go slowly when you reinstall them.
Tips and Mistakes to Avoid
- Forgetting to shut off the water: always close the valve and open the faucet before you start.
- Buying parts without the old ones: bring the stem, washer or cartridge to the store to match the size.
- Skipping the seat: a new washer on a pitted seat will leak again quickly.
- Forcing a stuck handle: use heat or a handle puller instead of a hammer.
- Ignoring hard water: clean off mineral deposits every time you open the faucet.
FAQs
How much does it cost to fix a leaky bathtub faucet?
If you do it yourself, you only pay for parts such as washers, O-rings or a cartridge. If you hire a plumber, the bill depends on the damage, the parts and your area.
Can a dripping faucet increase the water bill?
Yes. A faucet that drips all day and night wastes water you pay for, and the waste adds up month after month.
How much do plumbers charge to fix a leaky faucet?
Each plumber sets their own rates, but the average range is about $125 to $350, depending on the faucet and the parts needed.
Do I need to turn off the water to fix a tub faucet?
Yes. Close the shutoff valves for the tub, or the main valve for the house, and open the faucet to drain the line before you take anything apart.
Should I replace the washer or the whole stem?
Replace the washer and O-rings first. If the stem threads are worn or the stem is corroded, replace the stem, and take the old part to the store to match it. If the whole valve is worn out, see our guide on how to replace a bathtub faucet valve.
A leaking bathtub faucet is noisy, stains the tub and raises your water bill, so it is worth fixing quickly. In most cases, a new washer, O-ring, seat or cartridge solves it in an afternoon. Turn the water off, take your time, keep the parts in order, and call a plumber if the valve body itself is damaged. If the faucet is simply worn out, it may be time for a new bathtub faucet.