
How to Install a Roman Tub Faucet Step by Step

By Julian Gill Updated · 5 min read

Disclosure: Some of the links in this article may be affiliate links, which can provide compensation to me at no cost to you. You can read our affiliate disclosure in our privacy policy.
In this article
A Roman tub faucet gives a bathtub that clean, high-end look: the spout and handles sit right on the tub deck, with no hardware on the wall. Installing or replacing one is very doable, as long as you know which kind of kit you have and follow the order of the steps.
Quick answer
To install a Roman tub faucet, shut off the water, remove the old handles, nuts and cartridges, then install the new spout, the mounting hardware, the new cartridges and the handles. Seal any part without a gasket with plumber's putty, then turn the water back on and check for leaks under the deck.
Key takeaways
- It is a deck mount faucet: the handles and spout are on the tub, not on the wall, which suits drop-in and stand-alone tubs.
- Trim kit or full valve: replacing only the trim is a DIY job; replacing the valve under the deck is more involved.
- Brand matters: systems such as Moen M-PACT and Delta install differently, so read your instructions.
- An Allen wrench does most of the work: set screws hold the handles and the spout.
What Is a Roman Tub Faucet?
A Roman tub faucet is a deck mount faucet. Instead of having the handles on the wall, they are mounted on the tub itself or on the deck around it. That makes them a natural choice for drop-in tubs, garden tubs and stand-alone tubs.
A typical set has a spout in the middle and two handles, one for hot and one for cold. Some models add a hand shower on a hose. Below the deck sits the valve, which connects to your hot and cold supply lines.
Trim Kit or Full Valve: Know What You Are Installing
Installation depends on two things: the manufacturer and the type of kit. For instance, Moen uses its own M-PACT valve system, which differs from Delta's installation. Each brand's trim is designed for its own valve.
Most DIY friendly
Trim Kit
You keep the valve under the deck and replace only the visible parts: spout, handles, escutcheons and cartridges. This is the job covered in this guide.
Bigger job
Faucet With New Valve
The valve under the deck is replaced as well, which means working on the supply plumbing. If you are not comfortable cutting and joining pipe, call a plumber for this part.
Knowing this, pay close attention to the instructions that came with your unit. They tell you the exact order, torque and parts for your model.
Tools and Materials You Need
Depending on your faucet, gather these supplies before you start:
- Allen wrench
- Adjustable wrench
- Pliers
- Towels to soak up water
- A container for small parts
- Plumber's putty

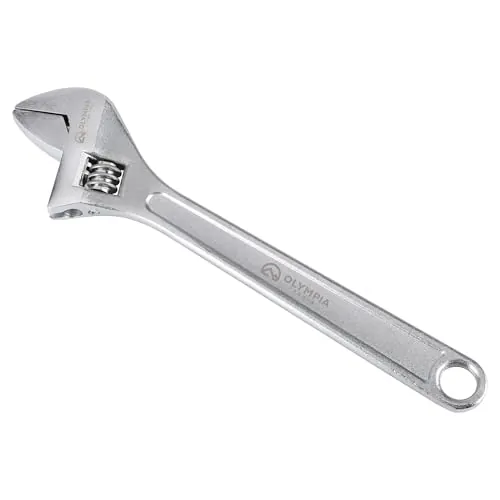

Safety first
Turn off the water supply before you remove anything. If the tub has no dedicated shutoff, close the main valve. Open the old faucet to drain the lines, and close the tub drain so no screw or set screw falls into it.
How to Install a Roman Tub Faucet
- Prepare the area
Turn off the water and lay towels in the tub and on the deck. Keep your container nearby for every small part you remove.
- Remove the old handles
Locate the set screws at the base of each handle. Loosen them with your Allen wrench. Once they are loose, the handles lift straight off the faucet.
- Remove the nuts and cartridges
With your wrench, turn the nut beneath each handle counterclockwise and remove it. Grab the top of each valve cartridge with pliers and pull it out.
- Remove the old spout
Find the retaining screw on the back of the spout and remove it with the Allen wrench. Lift the old spout off and clean any debris and old putty from the deck.
- Install the new spout
Set the new tub spout on the deck and tighten its retaining screw with the Allen wrench. Check that it sits straight before you fully tighten.
- Install the mounting hardware
Fit the mounting hardware that came with your faucet, such as washers or mounting plates. If any piece has no gasket, apply a rope of plumber's putty around that fitting before you set it.
- Install the new cartridges
Depending on your faucet, the cartridges either screw into place or are held by set screws. Check which one is hot and which is cold before you seat them.
- Install the new handles
Slide the new handles over the cartridges and secure them with their set screws. Turn them through their full range to make sure they move freely.
- Turn on the water and test
Open the water slowly. Run hot and cold through the spout, then look under the deck or through the access panel for drips. Wipe off any squeezed-out putty.
Want to see the trim go on before you start? This video shows a Roman-style deck mount trim being installed.
Common Mistakes to Avoid
- Buying trim for the wrong valve: match the brand and the valve system.
- Swapping hot and cold: check the cartridges before you put the handles on.
- Putty on gasketed parts: if a part already has a gasket, putty is not needed.
- Overtightening set screws: they strip easily. Snug is enough.
- No access to the valve: if you are building a new deck, plan an access panel for future repairs.
If the faucet drips later on, our guide on how to fix a leaky bathtub faucet covers the usual causes. Still choosing a model? Check our best Roman tub faucet reviews.
FAQs
What is a Roman tub faucet?
It is a deck mount tub faucet: the spout and handles sit on the rim of the tub or the tub deck instead of on the wall.
Can I install a Roman tub faucet myself?
Yes, if you are only replacing the trim on an existing valve. If the valve under the deck must be replaced too, the job involves the supply pipes and is often best left to a plumber.
Do I need plumber's putty for a Roman tub faucet?
Only where a part has no gasket. If the escutcheons or mounting hardware come with gaskets, no putty is needed.
Will any Roman tub trim fit my existing valve?
No. Trim kits are made for a specific valve system, such as Moen M-PACT, so new trim from another brand usually will not fit. Match the brand and the valve system.
Installing a Roman tub faucet is mostly careful work with an Allen wrench: old handles, nuts and cartridges out, then new spout, mounting hardware, cartridges and handles in. Match the trim to your valve, seal parts without gaskets and test under the deck before you call it done.