Moen shower heads are one of the most popular brands on the market. But, like all things, they can have their issues. One of the most common problems is a dripping shower head. This can be annoying and wastes water.
If your Moen shower head is dripping, don’t despair. It can be repairable by yourself. There are a few things you can try to stop the drip and get your shower head working properly again.
First, check to see if the shower head is loose. If it is, simply tighten it with a wrench. If that doesn’t work, you need to change the cartridge.
by turning off the main water valve. Generally, if the valve handle is parallel, it’s on. So you need to turn it off by turning it perpendicular.
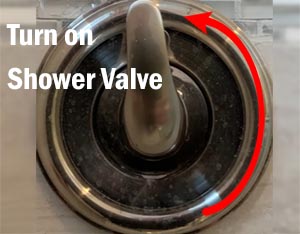
After you have your water off, you are going to go ahead and open up the cartridge. Turn on the shower valve and just let the drain out if any water has inside this.
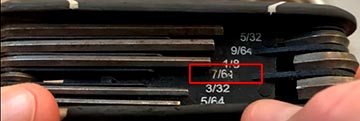
Now, for taking a shower handle off, you need to take the 7/64 force screw from the Allen wrench. So go ahead and take the handle off by this 7/64 force screw.
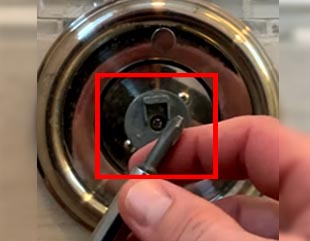
Now take a number two Philips screwdriver to remove the screw in the middle point of the valve. Then you will get the temperature restrictor and take off that.
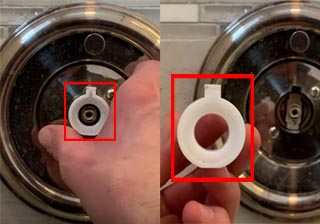
You see the excursion tube inside and pull it out from there.
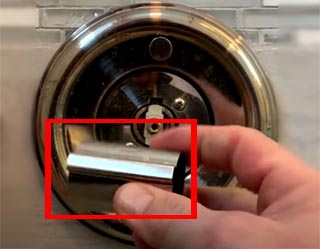
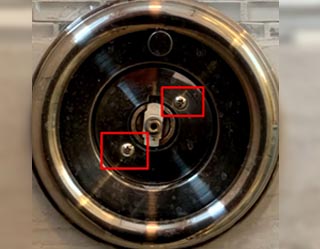
Now, we are going to remove the screws of the cover plate. Clear the silicon caulk around the cover plate. You can use a razor knife or putty knife to do this.
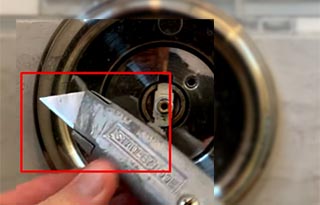
You must remove the remaining caulk after removing the cover plate. For this, you can use a flat blade screwdriver. But you must be careful about scratching the wall during this job.
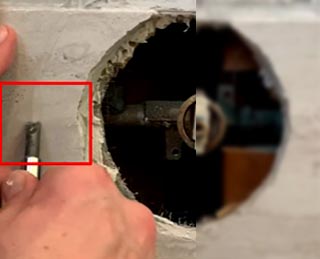
Now, take a limen plier to take off the little u-clip of the cartridge.
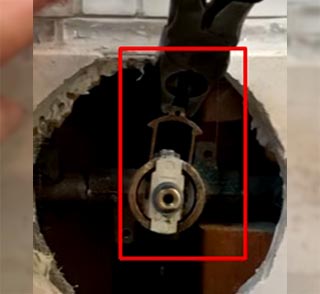
Grab the cartridge by the limen plier and give it just some easy twists back and forth to loosen up. Keep twisting and pulling until it comes out.
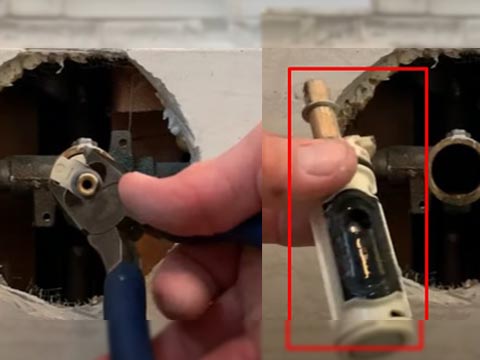
You must remind the position of the cartridge. There is a symbol of HC (stand for Hot, cold) and a dash. Remember, this mark of the cartridge is up or downside in your stem when you pull it out.
Pro tip: Before installing the new cartridge, you should always flush the pipe because there is debris and sediment in the pipelines that can harm the new cartridge. To do this, turn on the main water supply line and wait until all the debris comes out through the water.
Now, we are going to take the new cartridge. In this project, I bought the Moen 1222 cartridge and got a silicone lubricant/sealant with it. If you also have the lubricant, lube up well the new cartridge.
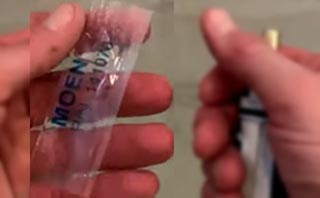
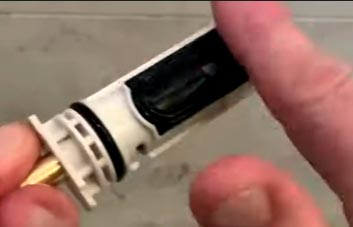
When installing the new cartridge in the stem, make sure you install it the way your old one was. In my case, the HC mark was down.
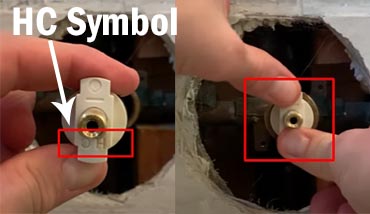
So put the new cartridge back the way you found the old one installed. Push it inside with your thumbs gently.
Now, push the u-clip back in. Just slide it from the top to down and make sure that the legs of the u-clip go through all the way.
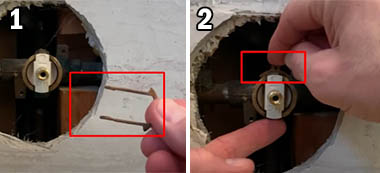
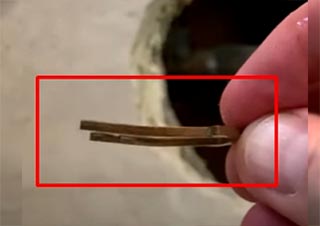
If the u-clip has a bit curvature, insert it facing back towards the back side of the valve.
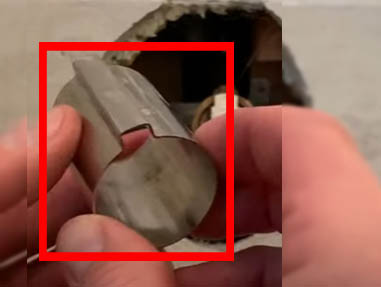
Then put the excursion tube back on as it was installed before.
Before you put everything back together, turn on the water supply and turn the stem from bottom to up if there is any dripping. Try the stem from low temperature to high (6 O’clock position is cold and 9’O clock position is maximum temperature). Double-check if there are any leaks and as well as the stem is in proper position before putting everything back together.
Now, if everything is ok, then put back the cover plate with screws. Then you’ll reapply the silicone caulk around the plate. Then tighten the screws. Put the rubber gasket behind the plate.
Pro tip: Don’t over-tighten the screws. Because it can be harmful to your shower wall, like scratching or even cracking it if the shower is surrounded by fiberglass as well as the valve might come out.
Then put back the temperature restrictor and handle mounting piece and tighten the screw.
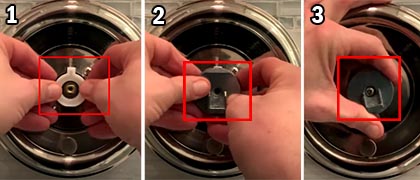
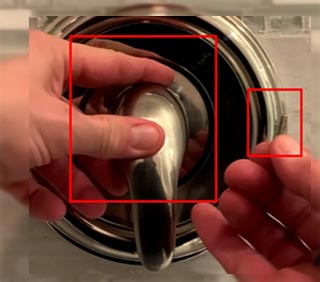
Then install the handle and finished tighten up the set screw on that handle. Don’t strip it out but make sure it’s on there so that the handle doesn’t come loose. Finally, you are all done.
Pro tip: Make sure the water supply is off before the project. If your shut-off valve gets so old then they don’t completely off the water. So double-check this.
Conclusion
So, you have seen that it’s a simple project. Any homeowner can do it with just a little bit of mechanical ability.
I hope this article will be helpful to you. Please let me know what’s your thoughts about it.
You might also like
1.75 GPM Vs 2.0 GPM Vs 2.5 GPM Shower Head
Moen 1224 Vs 1224b Vs 1248 – Grab The Perfect Cartridge
How To Clean A Rain Shower Head
Find The Best Shower Heads For Hard Water
Find The Best Rain Shower Head With Handheld Combo
Delta HydroRain Showerheads- Should You Buy This Model?
How To Clean Showerhead With Vinegar (Step By Step)
3/4 Vs 1/2 Inch Shower Valve – Which Is Perfect For Your Bathroom
Moen 2510 Vs 2520 Vs 2570 Vs 2590 – Which Shower Valve Is Better
1 Handle Vs. 2 Handles Vs. 3 Handles Shower Faucet: Which Is Best


