
Converting a Two-Handle Bathroom Sink Faucet to a Single-Handle Faucet

By Julian Gill Updated · 6 min read
Disclosure: Some of the links in this article may be affiliate links, which can provide compensation to me at no cost to you. You can read our affiliate disclosure in our privacy policy.
In this article
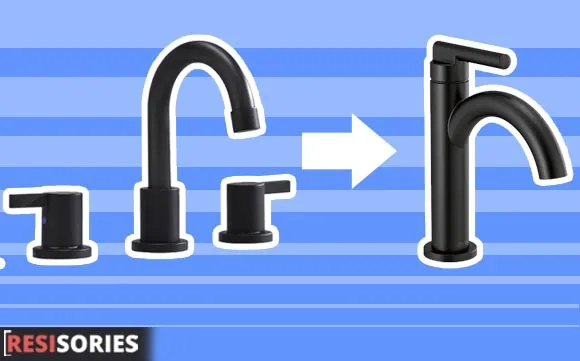
Swapping an old two-handle bathroom faucet for a single-handle model is one of my favorite small upgrades. It looks cleaner, it is easier to use, and in most bathrooms it takes an afternoon. The trick is dealing with the extra holes in the sink, and that is easier than most people think.
Quick answer
To convert a two-handle bathroom faucet to a single-handle faucet, remove the old faucet, install the new one in the center hole and cover the outer holes with a deck plate (escutcheon). Then reconnect the hot and cold supply lines and test for leaks.
Key takeaways
- Count and measure the holes first: the spread decides which faucet and plate you need.
- A deck plate does the magic: it hides the unused holes and gives a clean finish.
- Hot goes left, cold goes right: connect the supply lines the right way round.
- Test before you put things away: check every connection with the water running.
Why Convert to a Single-Handle Faucet?
The choice is personal. If you love your classic two-handle faucet, there is no need to change it. But single-handle faucets have real advantages.
- Easier to use: you can turn the water on with your wrist or elbow, which helps if you have stiff hands or arthritis.
- Better temperature control: one lever sets both flow and temperature, so you find the right mix quickly.
- More counter space: one faucet body instead of a spout and two handles leaves more room around the sink.
- Cleaner look: fewer parts to wipe around and a more modern style.
If you are still choosing a model, our guide to the best single-handle bathroom faucets and our picks for bathroom faucets for seniors are good places to start.
Check Your Sink Holes First
Before you buy anything, look under the sink and measure. Most two-handle bathroom faucets sit on three holes. What matters is the distance between the two outer holes, measured center to center.
Easiest conversion
Centerset (4-inch spread)
The three holes are close together. Many single-hole faucets come with a deck plate that covers this spread. You can also buy a single-handle centerset faucet that mounts straight over all three holes.
Needs a longer plate
Widespread (8-inch spread)
The holes are farther apart. You need a deck plate long enough to hide both outer holes. Check that one is available for your faucet before you buy.
Tools and Materials You Need
- New single-handle bathroom faucet
- Deck plate (escutcheon) if not included
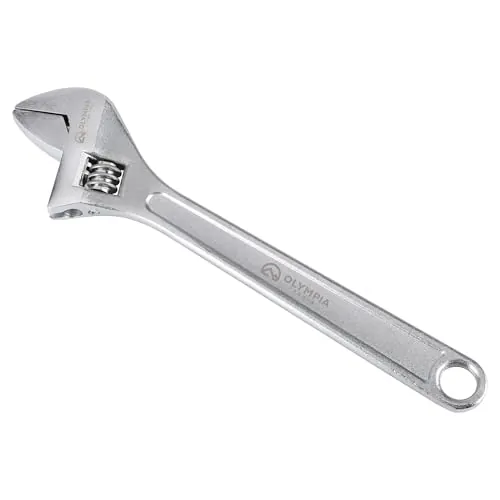
- Adjustable wrench or basin wrench
- Screwdriver
- Pliers
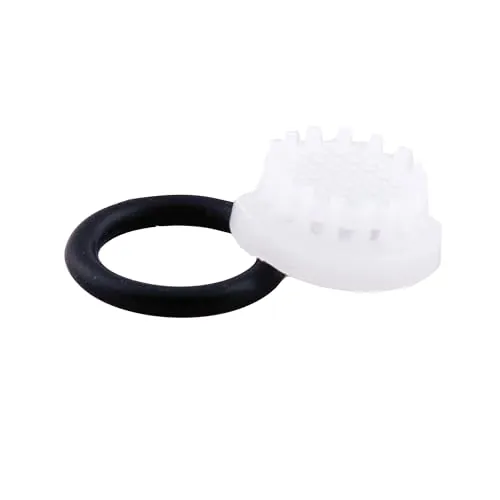
- Spare O-rings
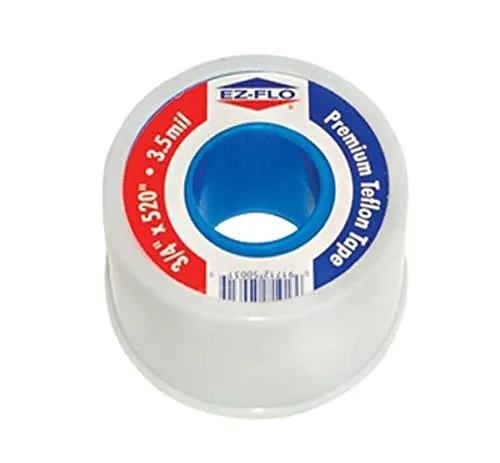
- Teflon tape
- Flashlight
- Bowl or small bucket and a towel
These are the items I keep in my bag for this job:
Safety first
Turn off the hot and cold shutoff valves under the sink, then open the old faucet to release the pressure. If the valves do not close fully, shut off the main water supply before you disconnect anything.
How to Convert Your Faucet, Step by Step
- Prepare your space
Empty the vanity cabinet, lay a towel on the bottom and set a bowl under the supply lines. Have the new faucet unpacked and read its instructions before you start.
- Disconnect the water supply lines
Turn each supply line nut counterclockwise to loosen it from the faucet or the shutoff valve. Let the leftover water drain into the bowl.
- Remove the old faucet
Unscrew the mounting nuts under the sink, a basin wrench helps in tight spots, then lift the old faucet off the top. If the pop-up drain rod is connected, release it first. Take your time so you do not damage the supply valves or the countertop.
- Clean the sink surface
Scrape off old putty or sealant and wipe away mineral deposits around the holes. The deck plate and the new gasket need a clean, flat surface to seal.
- Install the deck plate over the holes
This is the secret part. Set the gasket and the deck plate over the three holes, centered on the middle one. The plate hides the two outer holes and gives the new faucet a clean base.
- Mount the faucet in the center hole
Feed the faucet lines through the center hole and the plate. Make sure the faucet is straight and centered over the bowl, then tighten the mounting nut from below. Snug it up without overtightening.
- Install the drain if included
If your faucet came with a new pop-up drain, install it now following the instructions, and connect the lift rod. If you keep the old drain, check that its lift rod still reaches.
- Reconnect the water lines
Connect the hot line to the left side and the cold line to the right, as marked on the faucet. Tighten by hand, then about a quarter turn more with a wrench. Use Teflon tape only on threaded joints that need it, not on compression fittings.
- Test and check for leaks
Open the shutoff valves slowly. Remove the aerator and run the water for a minute to flush debris, then put it back. Check that hot comes out when you turn the handle toward hot, and look for drips at every joint with a flashlight.
For a more detailed walkthrough of the installation itself, see our guide to single-handle bathroom faucet installation.
Things to Keep in Mind Before You Convert
A single-handle faucet suits most people, but not everyone will love it. Think about who uses the bathroom.
- Young children: a single lever can swing to full hot quickly. Use a faucet with an adjustable limit stop if you can, lower the water heater setting, and supervise little ones.
- Personal habit: some people prefer to set hot and cold separately. Try one in a store before you decide.
- Matching fixtures: if your tub and shower have two handles, choose a finish that ties the room together.
Common Mistakes to Avoid
- Buying before measuring: the deck plate must cover your exact hole spread.
- Swapping hot and cold: hot is on the left. Reversed lines are the most common callback I see.
- Overtightening plastic nuts: they crack. Hand tight plus a little is enough.
- Skipping the flush: debris from old pipes can jam the new cartridge or aerator.
- Ignoring a stiff shutoff valve: if it does not close fully now, it will not in an emergency.
FAQs
Can you replace a 3-hole faucet with a single-hole faucet?
Yes, in most cases. Install the single-hole faucet in the center hole and cover the two outer holes with a deck plate (escutcheon). Some faucets include the plate; for others you buy it separately in a size that covers your hole spread.
Can you put a one-hole faucet in a two-hole sink?
Yes. Mount the faucet in the hole that centers it best over the bowl and cover the unused hole with a deck plate or a hole cover. Check that the plate is long enough to hide both holes.
Do I need to replace the drain when I change the faucet?
Not always. Many new faucets come with a matching pop-up drain, but if your old drain works and does not leak, you can keep it.
Can a single-handle faucet be safe for kids?
Yes. Many single-handle faucets have a limit stop that caps how far the handle turns toward hot, and you can also lower the water heater setting. Supervise young children at the sink.
Converting a two-handle bathroom faucet to a single-handle one is a simple, satisfying DIY job. Measure your hole spread, buy a faucet with the right deck plate, connect hot to the left and cold to the right, and test carefully. You get a cleaner look and an easier faucet in one afternoon.