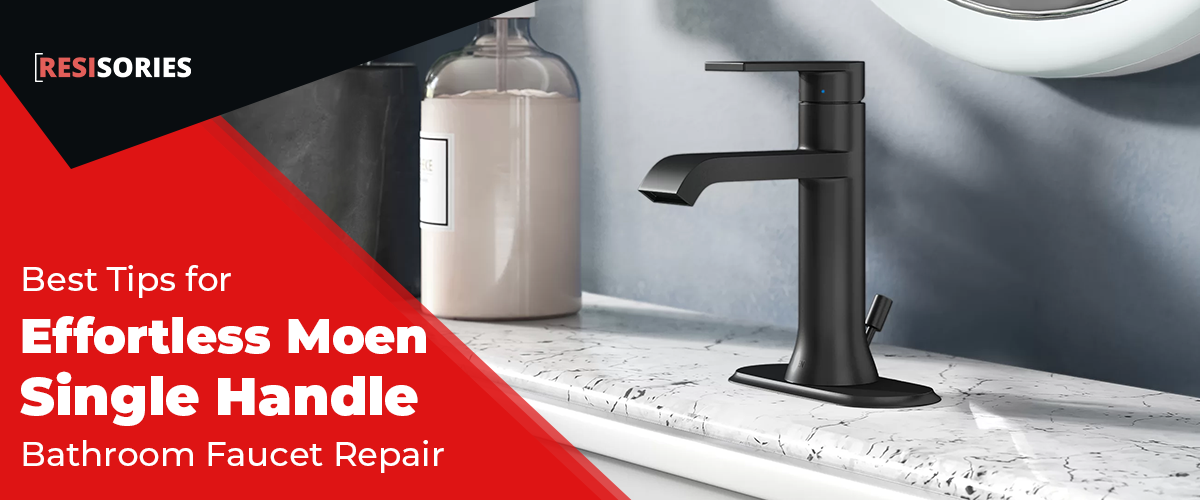
Mastering Moen faucet repairs requires a thorough understanding of faucet components, troubleshooting techniques, and proactive maintenance strategies to guarantee efficient and effective solutions to common issues. To begin, disassemble the faucet by turning off the water supply and draining pipes, then loosen the handle and detach the plastic sleeve. Next, remove and inspect the cartridge, evaluating for scaling or buildup and replacing it if necessary. By identifying and addressing common leak locations and incorporating routine maintenance checks, you can extend the faucet’s lifespan and minimize repairs. In addition, understanding the nuances of Moen faucet design and functionality will equip you to tackle even the most complex issues with confidence.
Key Takeaways
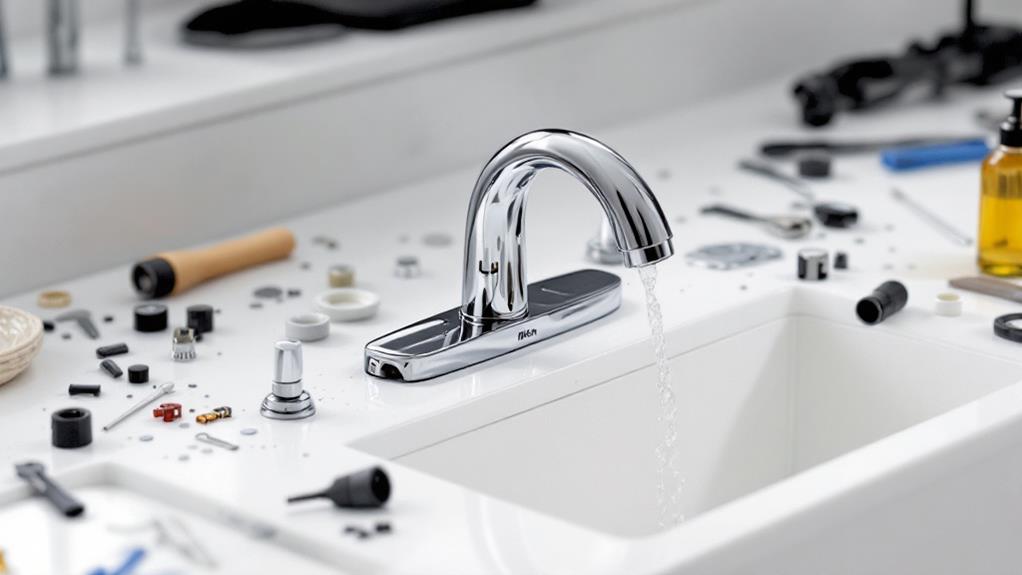
Disassembling Your Moen Faucet
The process of disassembling a Moen single-handle faucet is a meticulous procedure that requires attention to detail and a clear understanding of the components involved.
Before starting, turn off the water supply and drain pipes to prevent water spillage. It’s also helpful to familiarize yourself with the various parts of the faucet to avoid confusion during reassembly.
Utilize faucet tools such as a screwdriver to loosen the handle and remove the screw set. Next, turn the plastic sleeve counterclockwise with a wrench to detach.
Disassembly techniques involve unscrewing the water flow mechanism from the faucet, followed by removing the ring, washer, and pulling out the spout using pliers.
By mastering these steps, you’ll be well-prepared to tackle more complex repairs, ensuring a leak-free faucet that functions efficiently.
For more in-depth guidance, consider checking out best tips for effortless repairs.
Removing and Replacing Cartridges
Moen faucet’s cartridge removal demands precision and care to avoid damaging surrounding components, guaranteeing a successful repair or replacement process.
Understanding the differences between the Moen 1200, 1222, and 1225 cartridges can help you choose the right one for your needs. Proper removal requires a cartridge puller to twist and loosen the cartridge, followed by gentle pulling to avoid breakage.
When replacing, verify cartridge compatibility to maintain peak faucet performance. Assess the cartridge for scaling or build-up before deciding on repair or replacement. Soaking in vinegar can effectively clean the cartridge, but cracks or severe damage necessitate replacement.
Regular maintenance can extend the cartridge lifespan, but replacement is often required after a certain period. By following these guidelines, you can efficiently remove and replace cartridges, guaranteeing a successful Moen faucet repair.
Fixing Leaks and Issues
Numerous issues can afflict a Moen faucet, with leaks being a common problem. Effective leak detection is essential in faucet maintenance. To identify the source of the leak, inspect the faucet’s components, including the O-rings, gaskets, and cartridge.
| Leak Location | Common Causes | Repair Methods |
|---|---|---|
| Faucet handle | Worn O-rings | Replace O-rings |
| Spout | Loose connections | Tighten connections |
| Cartridge | Scale buildup | Soak in vinegar, replace if necessary |
| Drain assembly | Clogged aerators | Clean or replace aerators |
| Faucet mounting | Loose installation | Reinstall faucet |
Accurate diagnosis and prompt repair can prevent further damage and guarantee a leak-free faucet. By mastering leak detection and repair techniques, you can extend the lifespan of your Moen faucet and maintain peak performance.
Troubleshooting and Maintenance
Regular faucet maintenance is key to preventing issues and ensuring peak performance. By incorporating routine checks into your faucet maintenance, you can identify potential problems before they escalate.
For example, if you notice a dripping Moen shower head, you might want to stop a Moen shower head from dripping by checking for loose components and addressing cartridge wear.
Troubleshooting tips include monitoring water pressure, inspecting O-rings and gaskets for wear, and checking for mineral buildup. Addressing these issues promptly can prevent more severe problems from arising.
Additionally, regular cleaning and descaling can help maintain ideal faucet function. By staying proactive with faucet maintenance, you can extend the lifespan of your Moen faucet and minimize the need for repairs.
Repair Resources and Considerations
Several essential resources are available to facilitate effective Moen faucet repairs, ensuring that faulty faucets are restored to ideal functionality.
Exploring articles on related faucet and plumbing repairs provides valuable insights into troubleshooting and maintenance. Considering professional help for severe leaks or complex issues is important to avoid exacerbating the problem.
Reviewing best practices for faucet maintenance, such as regular cleaning and inspection, helps prevent leaks and prolongs the faucet’s lifespan. Utilizing online resources for installation help and troubleshooting tips streamlines the repair process.
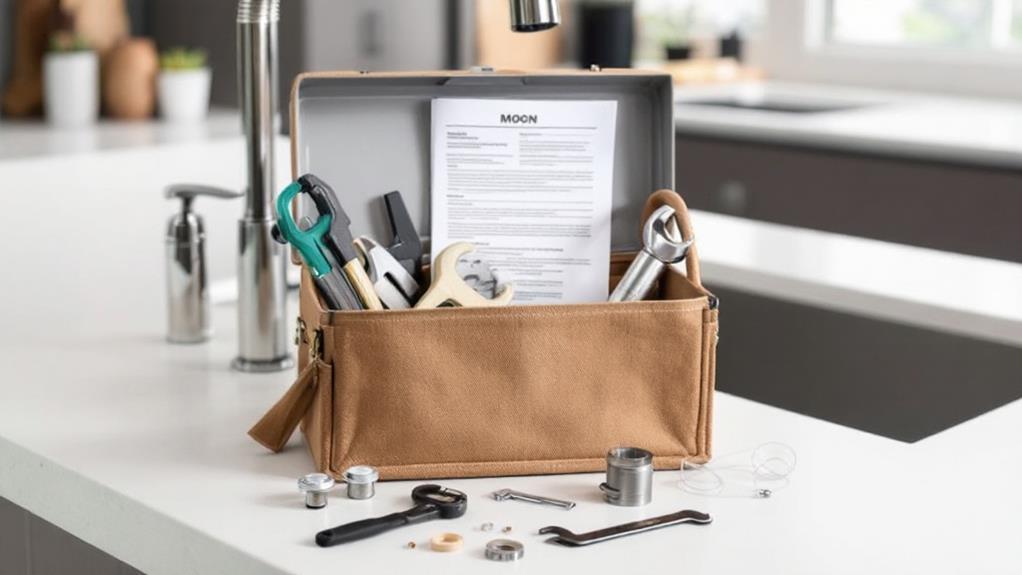
Additionally, having access to a thorough set of repair tools, such as wrenches and pliers, is critical for successful repairs. By leveraging these resources, DIY enthusiasts and professionals alike can master Moen faucet repairs with ease.
Frequently Asked Questions
When soaked in vinegar, avoid using a hair dryer to accelerate the cleaning process, as it may cause damage to the cartridge’s internal components or compromise the vinegar’s effectiveness, potentially leading to inadequate cleaning.
Conclusion
Moen faucet repair mastery is achievable through adherence to established procedures and understanding of fundamental components. This extensive guide has outlined the necessary steps for disassembling, repairing, and replacing Moen faucet components, including cartridge removal and leak resolution. By following these protocols, individuals can efficiently diagnose and rectify common issues, thereby reducing costs and downtime. Effective Moen faucet repair and maintenance are consequently facilitated, ensuring ideal performance and longevity of the fixture.