Effective waterproofing of shower walls and floors demands careful planning, precise execution, and the right selection of products. Choosing the correct waterproofing method involves taking into account factors such as cost, maintenance needs, and project requirements. Proper preparation of shower walls is pivotal, including making sure they are dry and free of moisture, filling cracks, and sanding for a smooth surface. A comprehensive waterproofing process before tiling and a distinct approach for shower floors are indispensable. By understanding the nuances of waterproofing shower walls and floors, you can ensure a leak-free and durable result; to guarantee a successful bathroom renovation, it’s vital to take into account the specific requirements of each component.
Key Takeaways
Choosing the Right Waterproofing Method
Effective waterproofing of shower walls and floors hinges on selecting the most suitable method for the specific project requirements. Among the available waterproofing techniques, liquid membranes and sheet or foam-backed board membranes are two popular options.
Liquid membranes offer a cost-effective and DIY-friendly solution, involving a liquid application with a paintbrush that cures quickly. Additionally, these membranes can be applied easily and quickly, making them a great choice for homeowners looking to save time and money.
In contrast, sheet or foam-backed board membranes are more costly upfront, requiring specialized equipment. When choosing a waterproofing method, consideration must be given to the project’s requirements, including budget and shower maintenance needs, as well as the benefits of each waterproofing option.
Preparing Shower Walls for Waterproofing
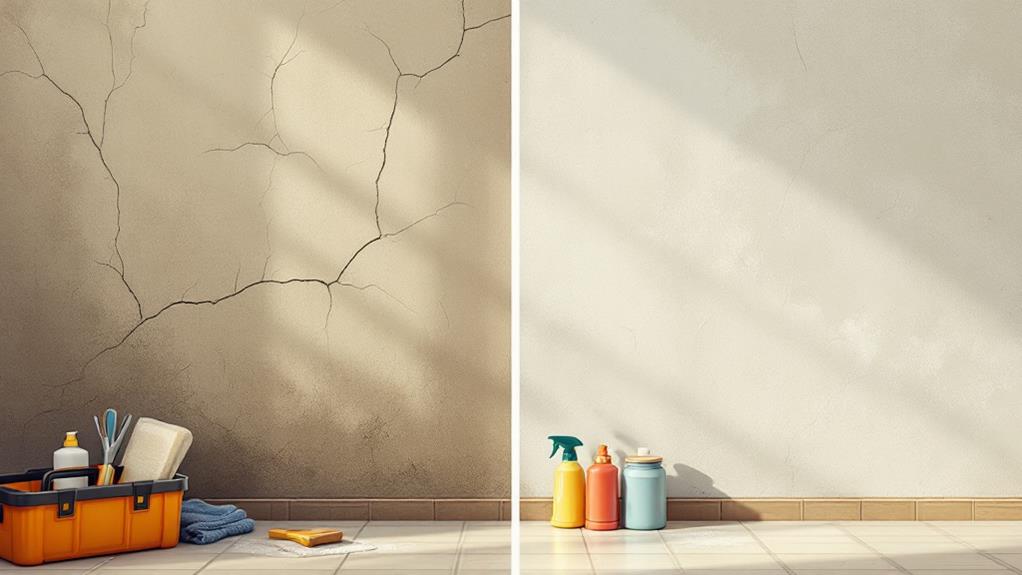
Once a suitable waterproofing method is chosen, attention turns to preparing the shower walls for the application process. This step is vital to guarantee a successful waterproofing outcome. The preparation process involves cleaning the walls to remove any dirt, grime, or old adhesive. Proper preparation can greatly enhance the effectiveness of the chosen product, whether it be best uses of Hydro Ban, Redgard, and Mapei Aquadefense.
- Guarantee the walls are dry and free of any moisture
- Check for any cracks or imperfections and fill them with an appropriate filler
- Sand the walls to create a smooth surface for the liquid membrane application
A well-prepared surface is essential for a successful liquid membrane application. Cost-effective options like liquid membranes rely on a smooth surface to adhere properly, ensuring a waterproof seal.
Waterproofing Shower Walls Before Tiling
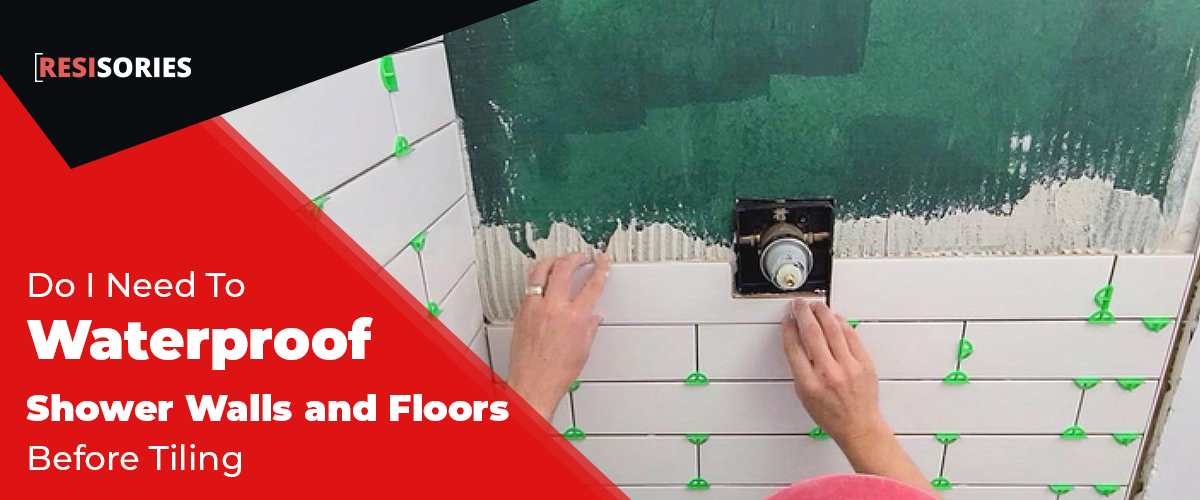
Before applying tile, shower walls need a thorough waterproofing process to prevent water damage and ensure a successful installation. This vital step involves constructing or adjusting the shower to specifications, guaranteeing a solid base for waterproofing.
Next, a liquid membrane is applied using liquid application, following the manufacturer’s instructions for the number of coats needed. A 24-hour curing period is crucial between each coat to achieve best results.
Once the waterproofing process is finished, the walls are ready for tiling. It is important to carefully adhere to the manufacturer’s guidelines to secure a waterproof seal that will last for years to come.
Waterproofing Shower Floors Effectively
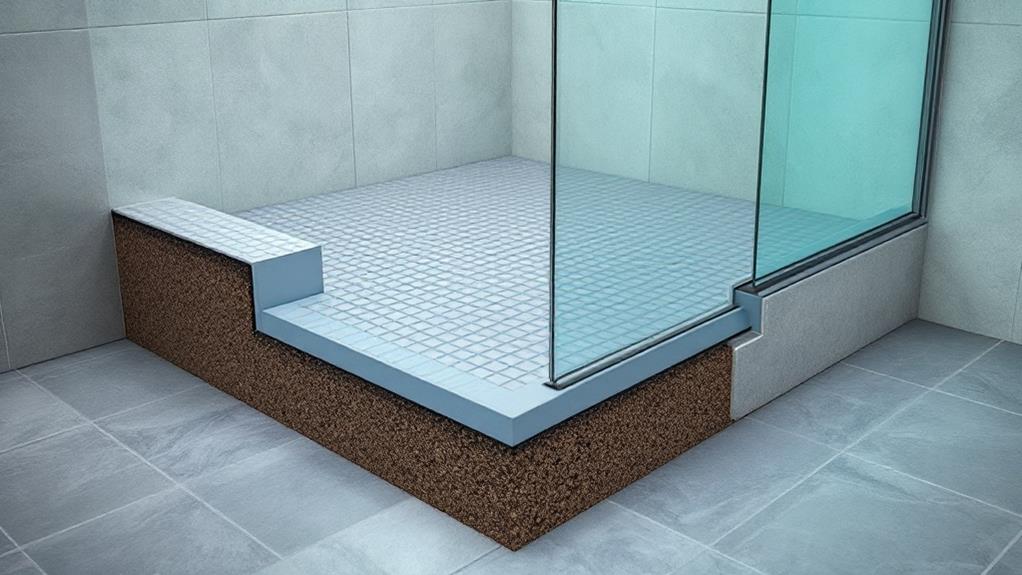
In the shift from walls to floors, a distinct set of considerations emerges, as shower floors are inherently more prone to water exposure and subsequent damage. To guarantee effective waterproofing, it is vital to focus on shower floor preparation and liquid membrane application. Utilizing a liquid waterproofing membrane not only repels water effectively but also allows for quick applications, making it an ideal choice for shower floors.
- Apply a generous primer coat to prepare the surface, filling corners of the wall and floor with silicone to prevent water seepage.
- Confirm the floor is level, clean, and dry before applying the liquid membrane.
- Follow the manufacturer’s instructions for the recommended number of coats and curing time between each coat, typically 24 hours.
Selecting the Best Waterproofing Products
Selecting a suitable waterproofing product is a critical decision in preserving the long-term integrity of a shower’s construction. With numerous options available, evaluating their characteristics and performance is vital.
| Product Type | Key Features |
|---|---|
| Liquid Membranes | Economical, DIY-friendly, quick curing |
| Sheet or Foam-Backed Board | Higher initial cost, specialized equipment required |
| Prova | Premium quality, sturdy, and durable |
| Wedi | Outstanding waterproofing, ideal for high-traffic areas |
| Mapei | Adaptable, easy to apply, and cost-effective |
When choosing a waterproofing product, take into account factors like budget, long-term maintenance, and intended use. Conduct thorough comparisons of waterproofing products to ensure the chosen product aligns with your specific requirements. If uncertain, seek professional advice or recommendations to ensure a successful installation.
Frequently Asked Questions
While it’s possible to use a single waterproofing method for both walls and floors, different materials and separate applications are often required due to distinct water exposure and load-bearing conditions on each surface.
Conclusion
Effective shower waterproofing is crucial for preventing water damage, mold growth, and costly repairs. By understanding the various waterproofing methods and materials, individuals can make informed decisions for a successful installation. The essential steps for waterproofing shower walls and floors, including preparation, application, and curing processes, must be carefully followed. With this comprehensive guide, the longevity and integrity of surrounding walls and floors can be ensured, leading to a durable and maintenance-free shower enclosure.
